I couldn't find a good DIY Xenon lightbulb change writeup anywhere. So, I made one. My car is a 2006 330i Sedan with the Sports Package and HID lights. Keep in mind I am a guy who fixes cars using duct tape and JB Weld. In other words, I take no responsibility if you try doing this yourself. These pictures are here for fun, not for instruction.
With that out of the way, let's get to it. I used 2 standard screwdrivers, 8mm and 10mm sockets, a ratchet with a short extension, a jack and a 17mm wrench to remove the tire, and a new D1S bulb.
Finding the right bulb was a pain in ass. I couldn't find a definitive answer to what kind of bulb I needed. I found a D2S on Amazon for \$42. The reviews were from a lot of guys with BMW's and Amazon's "does this part fit my car" gadget said it was the correct bulb. IT WAS NOT. The bulb arrived, I took everything apart, and realized my car uses a D1S bulb. I returned the D2S and waited for a D1S to arrive. I have no idea what kind of bulb your car uses and I have no idea how to know without looking. Depending on how you roll, you should take it apart before you order or just order both and return one.
Someone on some forum said OEM Xenon bulbs are 4300K. I do not know if this is true, but the specs for the Philips D1S Xenon Standard 85410C1 said it was 4300k and seems to match the existing light.
I bought it here for \$54.
Way cheaper than the \$119 AutoZone wanted. I couldn't find a temperature on the Sylvania bulbs which is why I chose Philips.
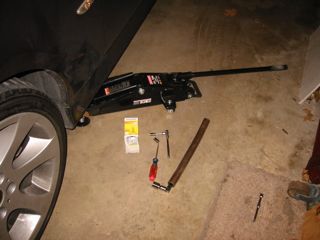
Get your tools, pop the hood, jack up the car, and remove the tire.

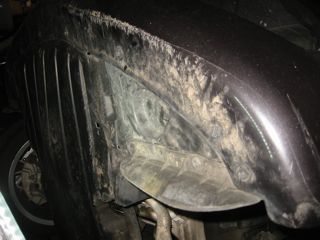
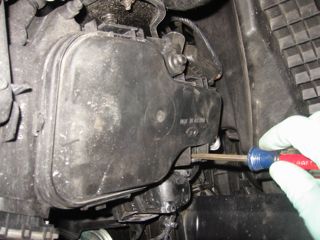
This is the fender well you'll remove. The front half has to come out. The access hatch you see is a tease. It is only big enough to replace the blinker bulb. You might be able to get to the Xenon bulb from the engine compartment if you remove the air box. But, the headlight's plastic case clips are a tricky bitch. You might as well remove the wheel well.
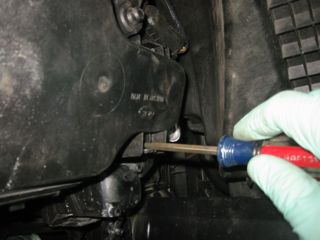
You have to remove some bolts under the bumper as well as the mudflap that's in front of the wheel. Someone sent me an email and said they did it w/o removing the mudflap. YMMV.
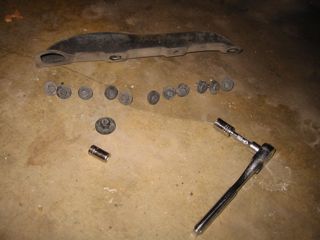
This is (almost) everything that holds the wheel well. It includes eleven 8mm bolts, one 10mm nut, and one sort of plastic push-pin thing (not shown) that helps hold the mudflap in place.
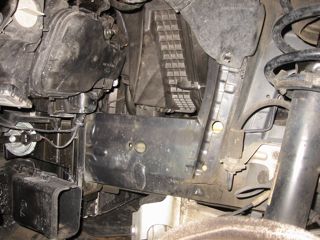
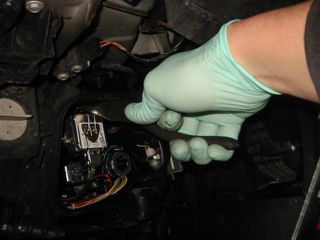
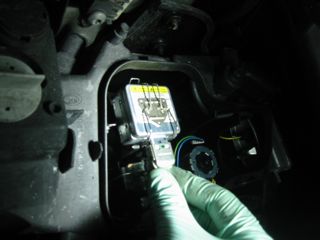
Carefully pull the wheel well out and down. Here's what you'll see.
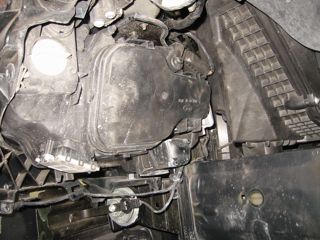
Close-up of the headlight unit. There are 2 clips on top, 2 on the bottom.
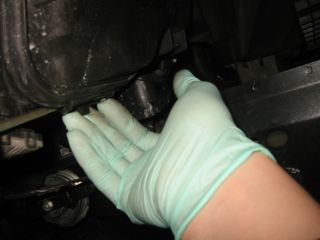
I unclipped the bottom half, first. The larger clip on the left was easier to unhook. I did slide a small flat-blade screwdriver along the side (look closely) as I pulled back as shown. Be careful. Those clips feel like they could easily break.
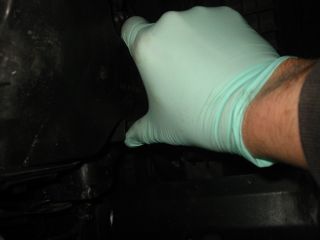
I undid the clip on the right by squeezing it with my thumb. Again, I used a flat-blade screwdriver (not shown, required two hands, couldn't hold the camera, too.) to help.
Swing the bottom half away.
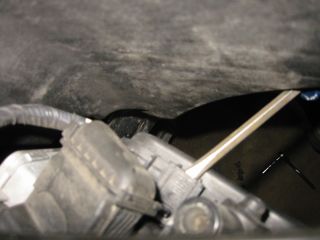
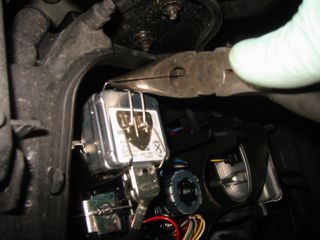
The top clips were rough. These photos are the clip on the right, photos taken from above the engine.
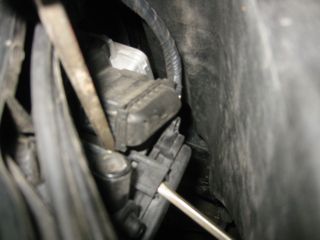
One screwdriver didn't do it.
I had to carefully use 2 screwdrivers to pop the right clip off. Once it was loose, i got back under the car and swung the housing up and carefully undid the left clip.
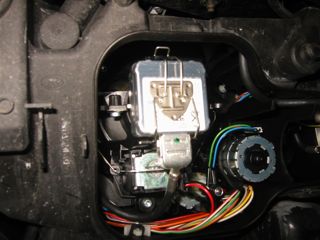
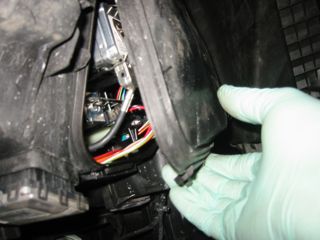
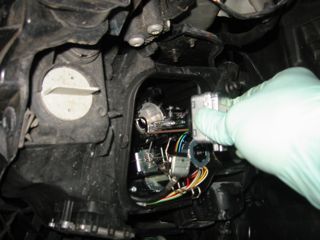
This is what the cover protects. The lightbulb is that silver thing held in with a spring clip.

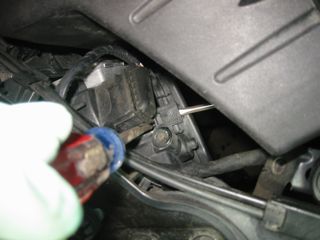
I tried using a screwdriver to undo the clip. That did not work.
Needle nosed pliers did it. Push toward the front of the car and to the left. Someone emailed me and said you can just use your fingers (no pliers.)
Apparently, I like taking photos of needle-nosed pliers. This shows the clip a little better.
Unplug the bulb (probably should do this before you remove the clip) and remove it.
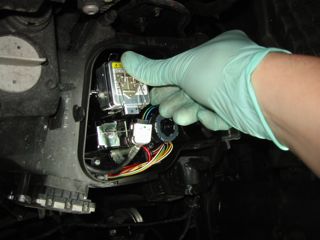
New bulb goes in (don't touch the glass! If you do, clean it with alcohol and a lint-free cloth.)
Plug in the bulb.
Replace the cover. Top in, first. Then the bottom. I used a screwdriver to help.
Again, with the screwdriver. These clips are a pain.
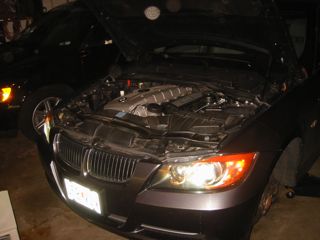
Before I went through the trouble of replacing the wheel-well, I tested the lights. Looks good. Button everything up and don't forget to torque the lug nuts.